Table of Contents
Imagine a no-bake dessert that stacks layers of crisp cookies, creamy ice cream, and rich toppings. My ice cream sandwich cake combines the nostalgia of classic treats with professional techniques. It ensures every bite balances cold, sweet, and crunchy textures.
This cake is perfect for any celebration, whether it’s a birthday or a summer day. It uses easy-to-find ingredients like store-bought cookie wafers and premium ice cream. You can also add mix-ins like chocolate fudge or fresh berries. Follow my step-by-step guide to make a showstopping dessert without complicated techniques.
Key Takeaways
- Uses simple ingredients for easy preparation
- Adaptable with flavors like mint chocolate chip or strawberry
- Layering tips ensure even texture and stability
- Storage methods keep the cake fresh for 2-3 days
- Serves 8-10 people as a centerpiece dessert
Introduction: The Story Behind My Ice Cream Sandwich Cake
My love for ice cream sandwich cake started in my grandmother’s kitchen. As a kid, I’d sneak bites of her peanut butter cookies. I dreamed of making desserts that brought joy like hers. Years later, I set out to create an ice cream sandwich cake that combined my favorite treats.
Every bite of this cake has a story. I tried many recipes, from vanilla to mint chocolate chip. I wanted to find the perfect mix of crispy edges, creamy centers, and rich frostings.
Researching and talking to dessert chefs helped me. I learned tricks like freezing layers to prevent sogginess. My aim was to make a cake that tastes like summer.
This project became a labor of love. I combined childhood memories with modern techniques. The ice cream sandwich cake is firm yet decadent. It’s not just about ingredients; it’s about sharing warmth, like at family gatherings. Next, I’ll show you how to make it at home.
Essential Ingredients for a Perfect Ice Cream Sandwich Cake
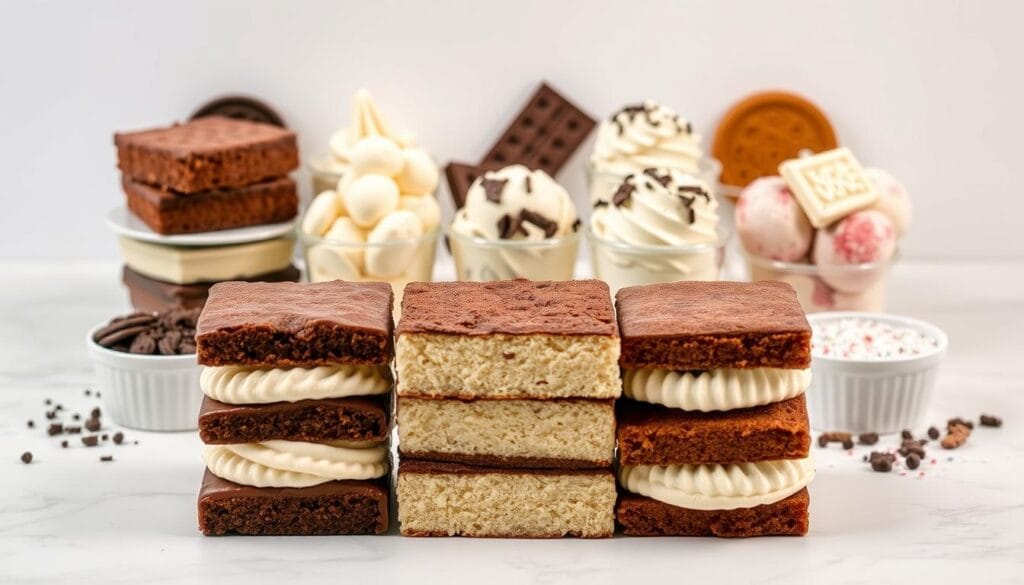
Making a stunning ice cream sandwich cake begins with the right stuff. For a classic 9×13-inch cake, you’ll need 20 rectangular ice cream sandwiches. Choose from vanilla, strawberry, or Neapolitan flavors. You’ll also need a 12-ounce jar of hot fudge sauce, 12 ounces of thawed whipped topping, and ½ cup of sprinkles.
For a 9×5-inch loaf pan Neapolitan twist, use 10 vanilla ice cream sandwiches. Add 1 pint each of strawberry and mint chip ice cream. Top it off with crushed chocolate wafer cookies.
Choose top-notch ice cream sandwiches like Oreo or Nestlé Toll House for a crisp bite. Go for real fudge sauce, not syrup, for that deep flavor. When layering, add mix-ins like warmed peanut butter or crushed Oreos for a Dairy Queen touch.
For a fancy finish, sprinkle chocolate shell topping on top after freezing. Remember, too much whipped cream can mess up the layers. Always measure your ingredients carefully.
- Ice cream sandwiches (20 for large cakes, 10 for smaller loaves)
- Hot fudge or caramel sauce (12 oz)
- Whipped topping (12 oz thawed)
- Cookies (crushed chocolate wafers or Oreos)
- Optional extras: sprinkles, nuts, or candy pieces
Having pre-measured sauces and toppings makes assembly a breeze. Mix up flavors for different occasions—like red, white, and blue for July 4th. With these basics, you’re ready to create any ice cream sandwich cake masterpiece.
Step-by-Step Instructions for Assembling the Layers
Building your ice cream sandwich cake is fun. Start by lining a 9×13-inch pan with parchment paper. This makes it easy to lift the cake later. Break each ice cream sandwich into halves or thirds to fit snugly, creating a solid base layer. Press them gently to form a flat surface.
- Pour warm fudge sauce over the first layer, spreading it evenly with an offset spatula. This sticky layer helps everything stick together.
- Spoon thawed whipped topping over the sauce. Spread it thinly—thicker layers can melt unevenly. I use a ¼-inch thickness for balance.
- Add texture by sprinkling crushed Oreos or chopped nuts before freezing each layer for 30 minutes. Repeat the layers twice more, ending with whipped topping.
- Drizzle final layer with caramel and fudge sauces in zigzag patterns. Top with colorful sprinkles or M&Ms for a festive look.
Freeze the assembled cake 2-3 hours before slicing. Pro tip: Use a warm knife dipped in hot water between cuts for clean slices. For extra stability, freeze each layer 20-30 minutes before adding the next. This step prevents layers from sliding when sliced.
Try different flavors like peanut butter drizzle overreo crumbs. Always work quickly to prevent ice cream from softening. Your ice cream sandwich cake will stay sturdy if each layer sets properly. Enjoy crafting this frozen masterpiece!
How to Achieve the Ideal Texture and Flavor
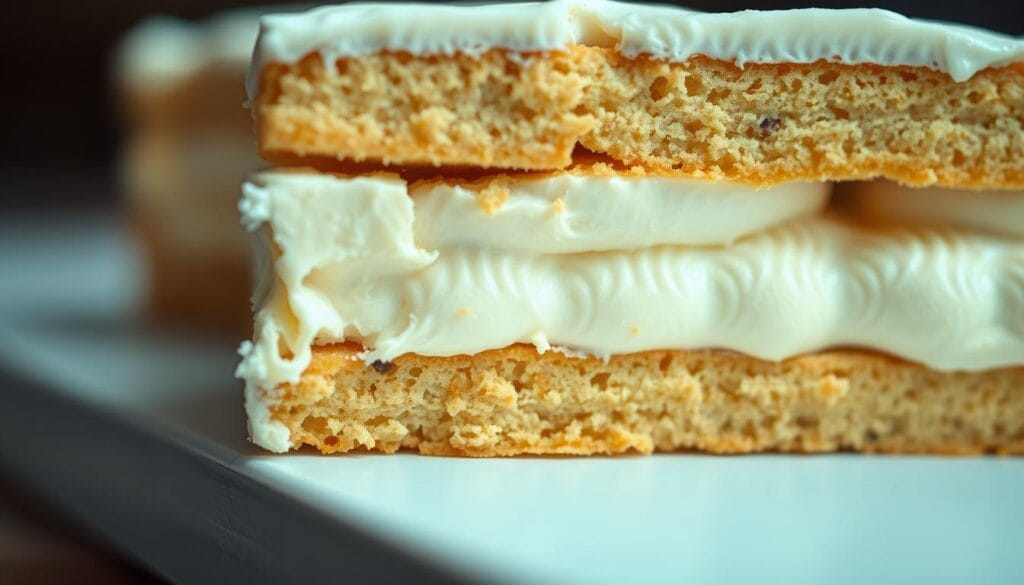
Creating the perfect ice cream sandwich cake is all about texture and flavor. Small steps can make a big difference. Let the ice cream soften a bit before layering. This makes it spread better and stick to the cookies without cracking.
If it gets too soft, just freeze it for 5 minutes to firm it up again.
- Temperature control: Let each layer set in the freezer for 30–45 minutes before adding more. Rushing this can make it soggy.
- Topping harmony: Choose toppings with different textures. Chewy caramel works well with crunchy cookies. Drizzle fudge slowly for even coverage.
- Flavor balance: Taste the cookie dough and ice cream before using them. Vanilla and chocolate are good together, but avoid too sweet toppings.
Using high-quality ingredients is key. Fresh cookies add crunch, and premium ice cream brings richness. Don’t overmix the batter to keep it light. My tests showed pre-chilling pans help prevent melting when assembling.
Being patient and precise is what makes a ice cream sandwich cake stand out. These steps ensure every bite is smooth and doesn’t crumble. It’s worth the wait!
Tips for a Flawless Ice Cream Sandwich Cake
Creating a perfect ice cream sandwich cake is more than just a recipe. It’s about the little things that make a big difference. Here are some tips to help you avoid common mistakes and make your cake stand out.
- Use a flat-bottomed dish or pan to keep layers even.
- Let each layer freeze completely before adding the next to prevent melting.
- Apply toppings sparingly to avoid sogginess—think light drizzles or sprinkles.
- Serve with a sharp knife dipped in hot water for clean slices.
Dotdash Meredith Food Studios says to keep your freezer at a steady temperature. Changes in temperature can make layers soft, making it hard to stack. I wrap my dish in cling wrap before freezing to keep it from getting freezer burn.
For a creative touch, layer crushed cookies between the ice cream. This gives it a deconstructed look. Another idea is to use edible gold leaf or colorful sprinkles as a garnish. Add these last to keep them from melting.
Remember, patience is important. Let the cake sit at room temperature for 5 minutes before slicing. This makes each piece easier to handle. With these tips, your ice cream sandwich cake will be a hit every time!
Mastering the Ice Cream Sandwich Cake Recipe
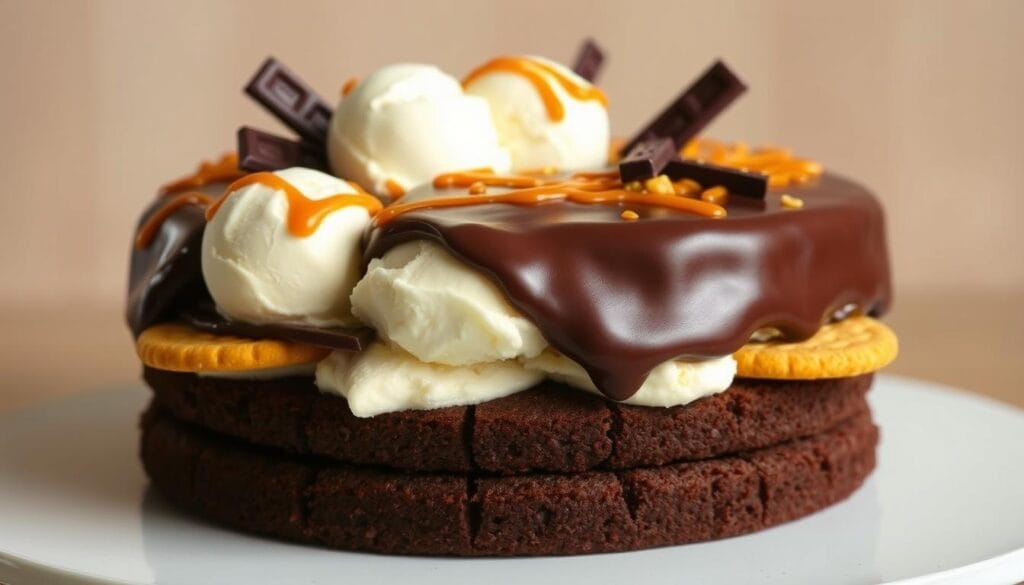
Getting your ice cream sandwich cake just right begins with knowing each step’s importance. Here’s how to combine all parts smoothly:
- Speed Matters: Handle ice cream sandwiches quickly to prevent melting. Let them chill in the freezer for 10-15 minutes before assembling.
- Layer with Purpose: Alternate ice cream sandwiches with layers of hot fudge and whipped topping. Add crushed Oreos between layers for texture contrast.
- Freeze Smart: After assembly, freeze the cake at least 2 hours. For best results, let it sit 10 minutes at room temperature before slicing.
Common problems like soft layers or uneven texture can be fixed by keeping tools and ingredients cold. Use a metal pan or baking dish chilled in the freezer beforehand. If layers start to soften, pause work and refreeze for 15 minutes. For extra stability, dip ice cream sandwiches in melted chocolate before layering.
Pro tip: Customize your ice cream sandwich cake by mixing flavors like mint chocolate chip with peanut butter cups. Always test a small batch of your chosen toppings first to ensure they freeze well. When ready to serve, drizzle with caramel sauce and sprinkle crushed cookies for a presentation that shines.
Creative Serving Suggestions for a Memorable Dessert
Make your homemade ice cream sandwich cake a hit with these simple tips. Start by topping each slice with whipped cream. Then, drizzle warm fudge or caramel sauces for a burst of flavor. Add crushed Oreo cookies or roasted peanuts for a crunchy touch.
To wow guests, stack layers in a clear glass dish. Use a star tip for whipped cream swirls. Add fresh strawberries or raspberries for color. Freeze the cake overnight to keep it firm.
- Top with mini chocolate chips or Reese’s Pieces for a nostalgic twist
- Layer with graham cracker crumbs for a crunchy base
- Decorate with edible glitter or sprinkles for birthdays or holidays
Be bold with flavors: try mint chocolate chip with Andes mints or cookie dough with chocolate fudge. These touches make your dessert unforgettable.
Storage and Reheating Instructions for Lasting Freshness
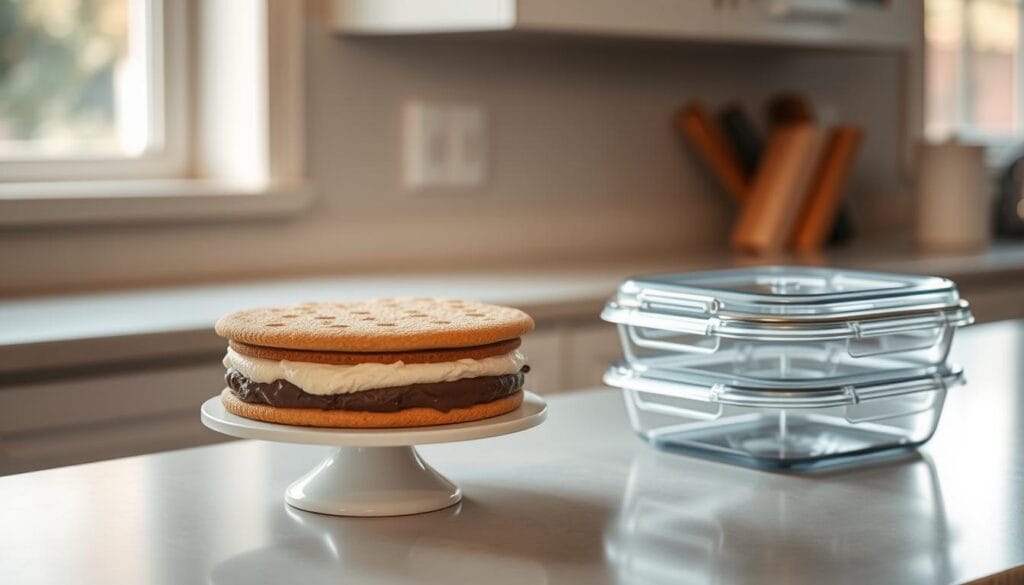
Keeping your ice cream sandwich cake fresh is easy. Wrap it tightly in parchment paper, then seal with aluminum foil. Freezing for at least 4 hours before serving is best. It can stay fresh up to 2 months if stored right. Use a freezer-safe container to prevent freezer burn.
- Wrap the fully assembled cake in cling wrap, pressing out air bubbles.
- Place it in an airtight container or freezer bag to lock in moisture.
- Freeze for 4+ hours or overnight. For long-term storage, mark the date on the container.
When you’re ready to serve, thaw the cake in the fridge for 30 minutes. Don’t leave it at room temperature too long to avoid melting. For a quick refresh, warm the edges in a 200°F oven for 2-3 minutes.
- Reheat individual slices instead of the whole cake to maintain texture.
- Always handle frozen slices with dry hands to prevent ice crystals.
By following these steps, your ice cream sandwich cake will stay creamy and intact. Check the cake 1 hour before serving to ensure it’s ready without over-thawing. Proper storage keeps every bite tasting homemade-fresh!
If you’re in the mood for more indulgent desserts, be sure to check out this Red Velvet Cake for a rich and decadent treat
FAQs
What type of ice cream sandwiches should I use for the cake?
Go for classic brands like Klondike or Häagen-Dazs for their creamy texture. Feel free to try different flavors or types to match your taste!
Can I make this ice cream sandwich cake ahead of time?
Absolutely! This dessert stays fresh in the freezer. You can prepare it a day or two in advance. Just wrap it well to keep it fresh.
What toppings work best for the cake?
Try whipped cream, fudge sauce, caramel drizzle, chopped nuts, and fresh berries. They add great flavors and textures. Mix them up to find your favorite!
Variations to Customize Your Ice Cream Sandwich Cake
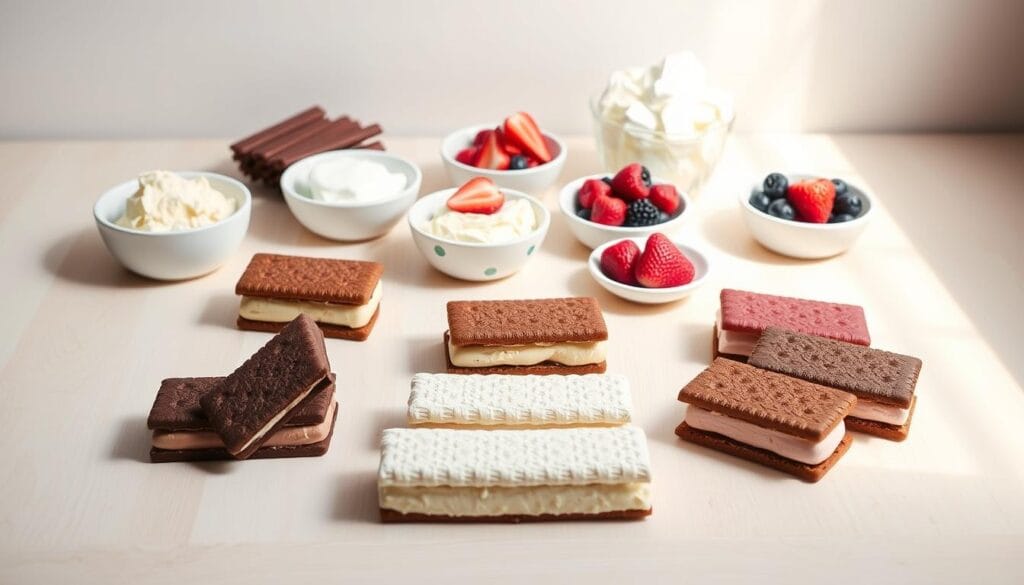
Want to make your ice cream sandwich cake uniquely yours? Let creativity guide you! Swap traditional vanilla or chocolate ice cream sandwiches for bold flavors like Neapolitan or Oreo. Mixing strawberry and mint chocolate chip layers creates magic.
- Flavor swaps: Try M&M-filled cookies or Reese’s Pieces-studded wafers for a candy-coated twist.
- Sauces: Drizzle salted caramel or raspberry sauce between layers instead of classic fudge. Peanut butter sauce adds a warm, nutty depth.
- Mix-ins: Sprinkle crushed graham crackers, toasted coconut, or chopped Kit Kats between layers. Crushed Oreos mixed into the ice cream base boost cookie-crisp texture.
Add crunch with nuts like almonds or walnuts. For a fruity burst, layer slices of fresh strawberries or bananas between chocolate layers. Sprinkles or crushed candy canes in winter months add festivity. The key? Balance—pair bold flavors with classics to keep the ice cream sandwich cake cohesive. Experiment, taste as you go, and make it yours!
Conclusion
Making an ice cream sandwich cake is a mix of old-fashioned charm and new ideas. You can use Neapolitan ice cream sandwiches or try salted caramel sauce. Start by stacking your ice cream sandwiches, then add cool whip, crushed Oreos, or fresh fruit for extra flavor and texture.
This dessert is all about trying new things. You can add lemon sorbet or Rocky Road ice cream for a unique touch. Keep it fresh by storing leftovers properly. Feel free to add chopped candy bars or toasted coconut to make it your own.
Print
The Ultimate Ice Cream Sandwich Cake
- Total Time: 15 minutes
- Yield: 12 servings
Description
This Ultimate Ice Cream Sandwich Cake is a decadent dessert that’s perfect for summer parties, family gatherings, or any special occasion. Layers of ice cream sandwiches, whipped cream, and your favorite toppings come together for a treat everyone will love.
Ingredients
12–16 ice cream sandwiches (depending on size of pan)
1 1/2 cups heavy whipping cream
1 cup powdered sugar
1 tsp vanilla extract
1/2 cup chocolate chips
1/2 cup crushed nuts (optional)
1/4 cup chocolate sauce or fudge
1/4 cup caramel sauce (optional)
1/2 cup sprinkles (optional)
Instructions
Prepare the base layer: Place a layer of ice cream sandwiches at the bottom of a 9×13-inch pan, cutting sandwiches to fit as needed.
Whip the cream: In a mixing bowl, combine heavy whipping cream, powdered sugar, and vanilla extract. Whip until stiff peaks form.
Spread the whipped cream: Evenly spread half of the whipped cream mixture over the ice cream sandwiches.
Add toppings: Sprinkle chocolate chips, nuts, or any other preferred toppings over the whipped cream.
Add another layer: Repeat with another layer of ice cream sandwiches, followed by the remaining whipped cream.
Chill: Cover the cake and freeze for at least 4 hours or overnight to set.
Top with sauces: Before serving, drizzle with chocolate sauce, caramel sauce, and sprinkles if desired.
Serve: Cut into squares and enjoy!
Notes
For a dairy-free version, use dairy-free ice cream sandwiches and whipped cream.
Feel free to customize with your favorite toppings, such as fruit, candy, or crushed cookies.
If you prefer a less sweet dessert, reduce the powdered sugar in the whipped cream mixture.
- Prep Time: 15 minutes
- Cook Time: 0 minutes
- Category: Dessert
- Method: No-Bake
- Cuisine: American
Nutrition
- Serving Size: 1 slice
- Calories: 300
- Sugar: 25g
- Sodium: 100mg
- Fat: 18g
- Saturated Fat: 10g
- Unsaturated Fat: 7g
- Trans Fat: 0g
- Carbohydrates: 30g
- Fiber: 1g
- Protein: 3g
- Cholesterol: 50mg
Keywords: Ice Cream Sandwich Cake, Ice Cream Dessert, Frozen Dessert, Summer Cake, Easy Ice Cream Cake, No-Bake Cake
