Table of Contents
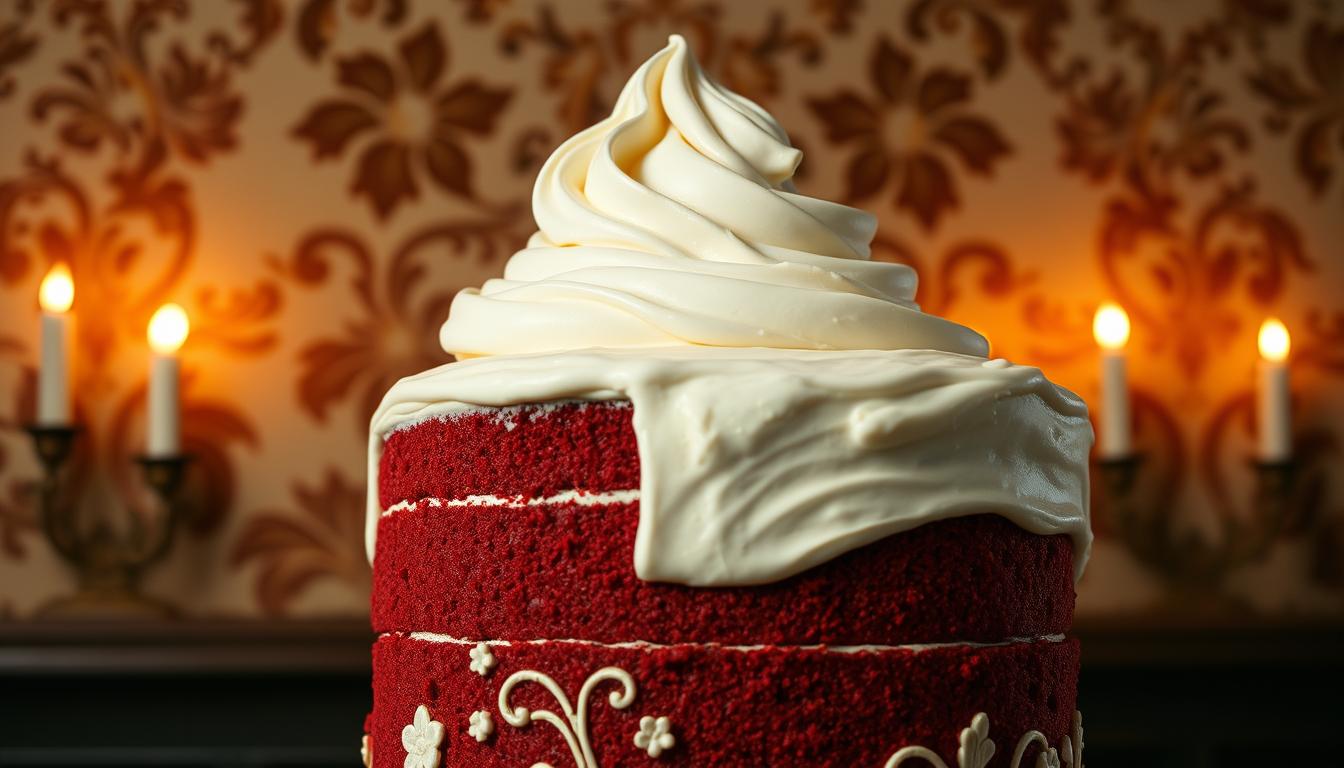
Homemade red velvet cake is truly magical. It combines Southern tradition with a vibrant color and a tangy, chocolatey taste. My recipe uses precise measurements and classic techniques to get that moist crumb and deep red color. It guides you through every step, from sifting dry ingredients to frosting with silky cream cheese icing.
Key Takeaways
- Preheat oven to 335°F (168°C) for even baking.
- Buttermilk and vinegar create the cake’s iconic tang and lift texture.
- Chefmaster red food coloring ensures a bright, consistent color.
- Freeze layers for 1 hour before frosting to prevent crumbling.
- Use a stand mixer for smooth batter blending—hand mixers work but require extra mixing time.
Essential Equipment for the Perfect Red Velvet Cake
For the best red velvet cake, the right tools make every step easier. Start with three 8-inch round pans. I recommend Fat Daddios aluminum pans for even baking. Use parchment paper circles to make removal easy and prevent sticking.
A stand mixer with a paddle attachment is a big help for creaming butter and sugar. If you don’t have one, a hand mixer will do the job.
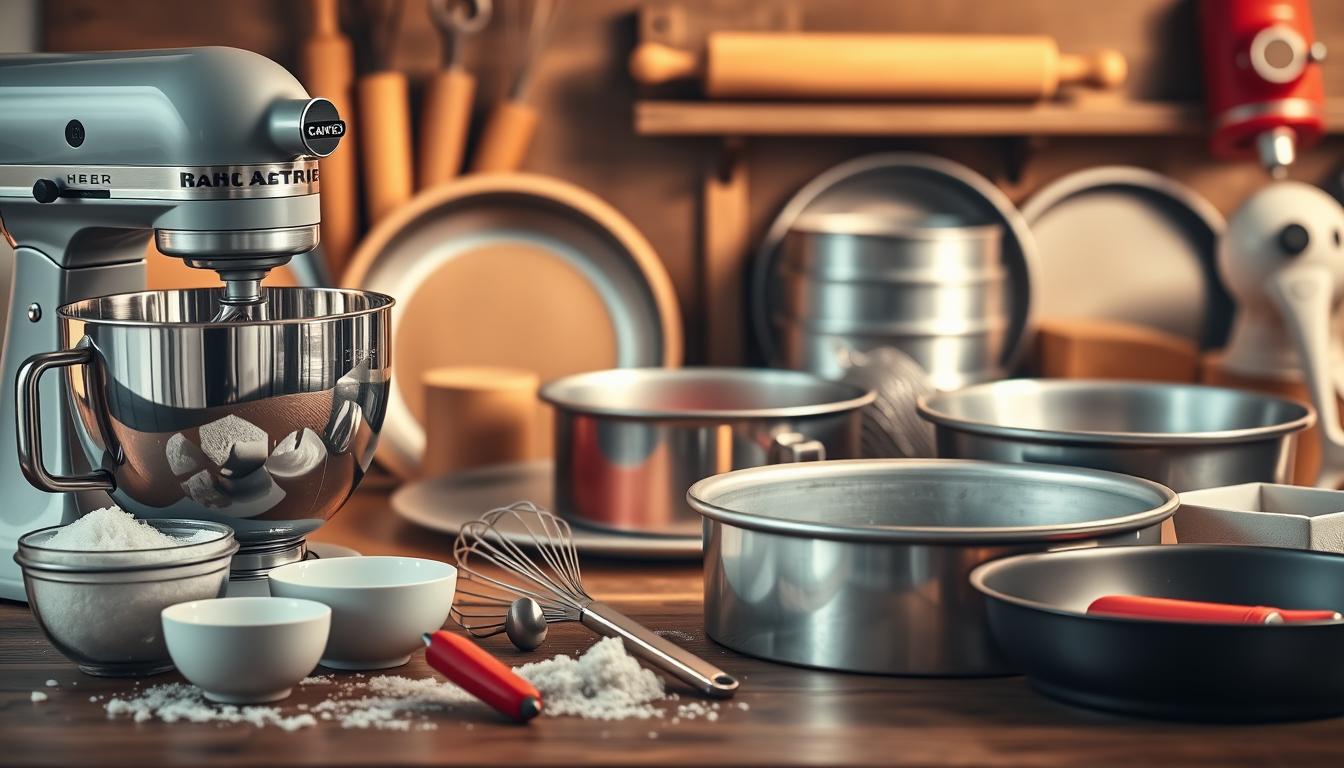
- Cake pans: Non-stick or aluminum options like Fat Daddios prevent browning and ensure even cooking.
- Parchment paper: Pre-cut rounds save time and keep layers intact.
- Rubber spatula: Scrapes every bit of batter from the bowl and smoothes it into pans.
Frosting needs precision. An offset spatula helps with frosting, and a turntable makes rotating the cake easy. For decorating, a piping bag with star tips adds flair. A wire rack cools layers without sogginess, and a serrated knife slices layers cleanly. Don’t forget a cake board to stabilize your creation while frosting.
Invest in a cooling rack and a cake dome to keep your masterpiece fresh. Every tool listed here works together to turn your homemade red velvet cake into a showstopper. Pro tip: Clean as you go—having a tidy workspace keeps everything organized!
Ingredients You’ll Need for an Authentic Red Velvet Cake
Making the perfect red velvet cake begins with the right ingredients. Here’s what you’ll need for that classic tangy, vibrant flavor:
- Dry Ingredients:
- 2¼ cups all-purpose flour (or 293g cake flour for lighter layers)
- 3 tbsp cornstarch for tenderness
- 3 tbsp unsweetened cocoa powder (adds subtle chocolate notes)
- ½ tsp baking soda and 1 tsp baking powder
- ½ tsp salt (unless using salted butter)
- Wet Ingredients:
- 6 tbsp room-temperature butter (unsalted)
- ¾ cup canola oil for moisture
- 1¾ cups granulated sugar
- 3 room-temperature eggs and 1 tbsp vanilla extract
- 1½ tsp white vinegar and 2¼ tbsp red liquid food coloring
- 3½ tbsp buttermilk (or milk + vinegar substitute)
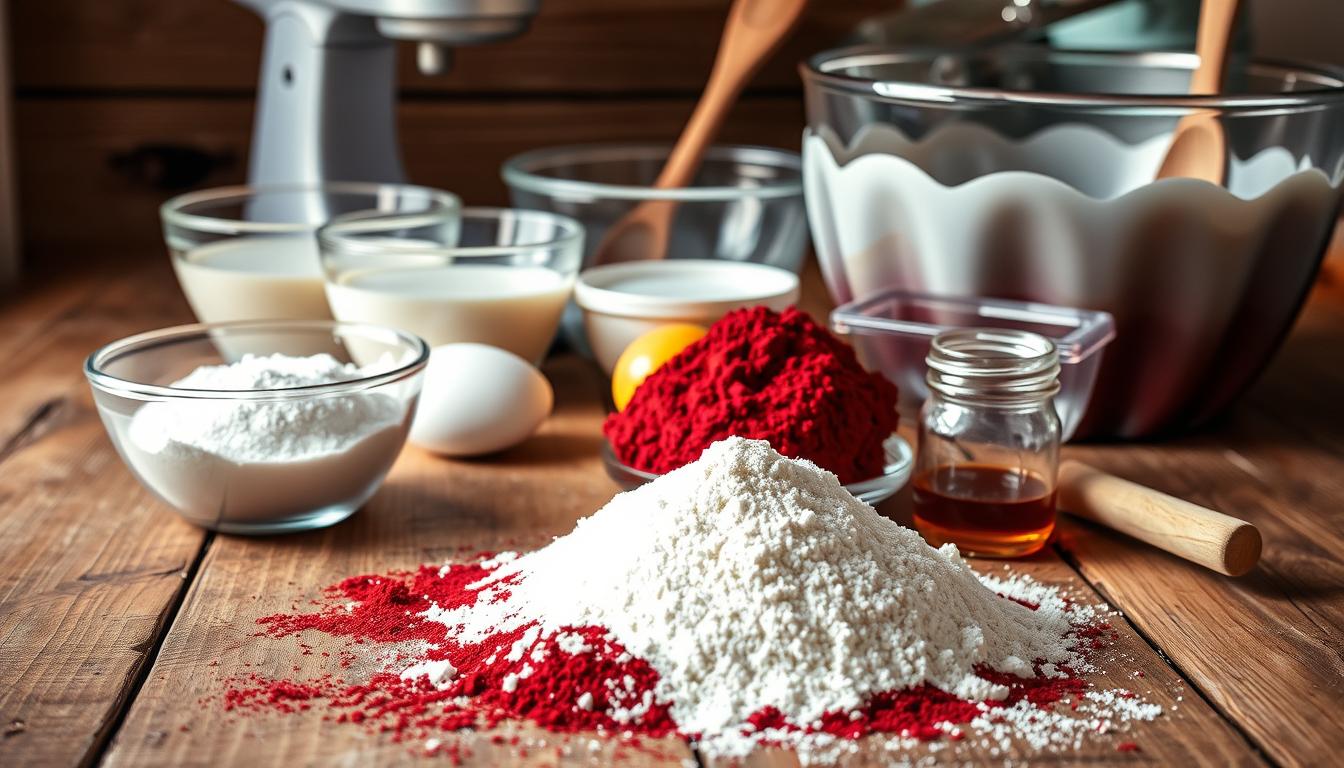
The red velvet cake with cream cheese frosting isn’t complete without its iconic frosting. Classic versions use:
- 16 oz cream cheese (room temperature)
- ½ cup butter (softened)
- powdered sugar and vanilla extract for flavor
- optional heavy cream for spreadability
Pro tip: Always use room-temperature ingredients for even mixing. Swap liquid food coloring with gel coloring (diluted 1:1 with water) for deeper color. Coffee is optional but enhances cocoa depth without altering taste.
Understanding the Science Behind Moist Red Velvet Cake
Ever wonder why homemade red velvet cake is so velvety? It’s all about chemistry. The magic begins with acid-base reactions. Buttermilk’s acidity meets baking soda, creating gas bubbles that lift the batter.
This process makes the cake’s crumb tender and soft. It’s what gives it that signature moist texture.
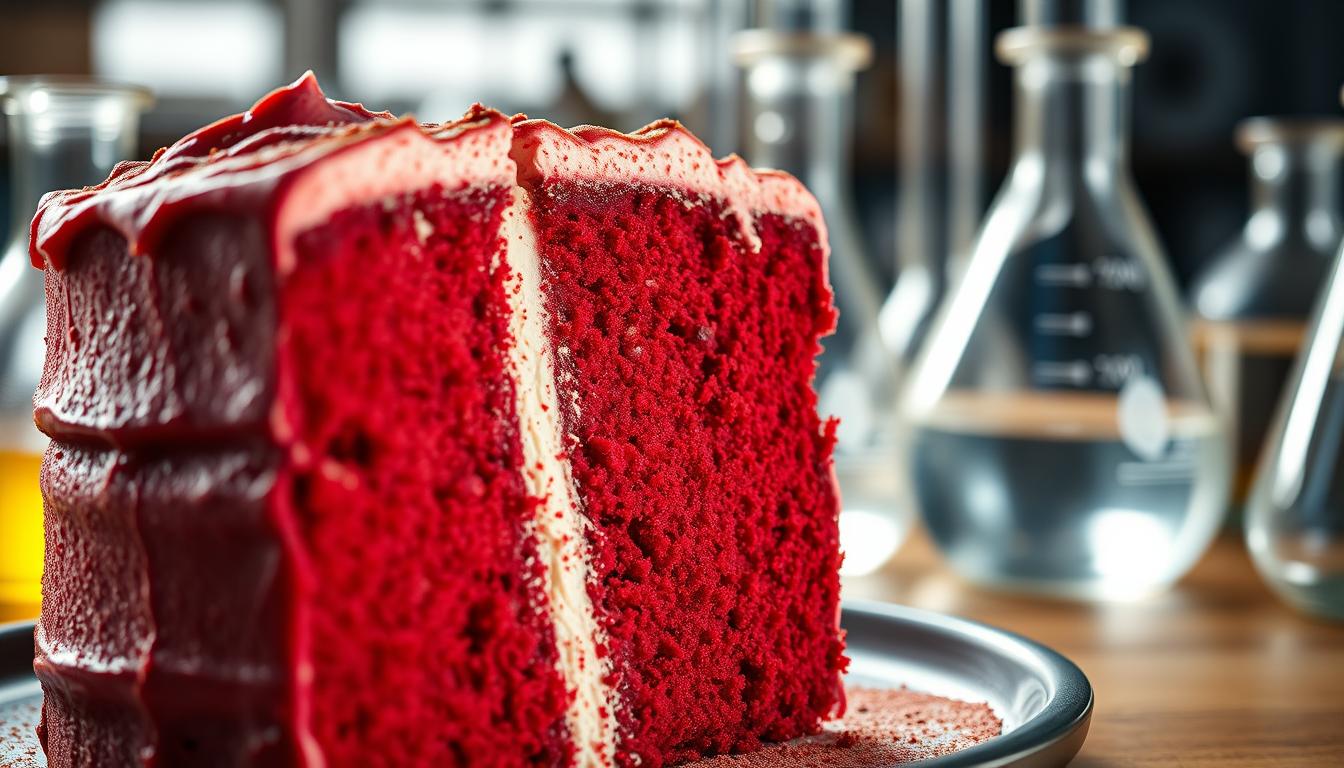
Key ingredients balance texture and flavor. Cocoa powder adds richness without making it heavy. Oil and butter mix to keep it moist.
Buttermilk’s acidity also activates vinegar, adding lift. Mixing gently is important. Overmixing can make the cake dense.
- Acid + Alkali = Rise: Buttermilk and baking soda’s reaction traps air, creating lift.
- Fat’s Role: Butter adds flavor; oil coats flour proteins, keeping the moist red velvet cake tender.
- Cocoa’s Subtlety: Small amounts soften the crumb while anthocyanins (in untreated cocoa) contribute to the natural red hue.
Modern recipes use red food coloring to mimic the historic beet juice or natural cocoa reactions. Precision is key. Too much flour dries it out, while too much liquid makes it gummy.
That’s why measuring by weight is important for consistent results. Every element, from the cream cheese frosting’s weight to the oven’s temperature, plays a role in that homemade red velvet cake magic. Now you know why it’s not just a recipe, but a science experiment you can bake!
Step-by-Step Preparation Guide
Let’s bake your easy red velvet cake today! Follow these simple steps for a homemade masterpiece everyone will adore:
- Preheat oven to 325°F (160°C). Grease two 9-inch pans with shortening, line bottoms with parchment paper, and dust with flour. Tap out excess.
- In a medium bowl, whisk 2½ cups flour, 2 tbsp cocoa powder, 1 tsp baking soda, 1 tsp baking powder, and 1 tsp salt. Sift to remove lumps.
- Cream ½ cup softened butter, 1½ cups sugar, and ¼ cup oil in a mixer until fluffy (4-5 mins). Add 2 eggs one at a time, mixing well. Stir in 1 tsp vanilla and 2-2½ tbsp red food coloring.
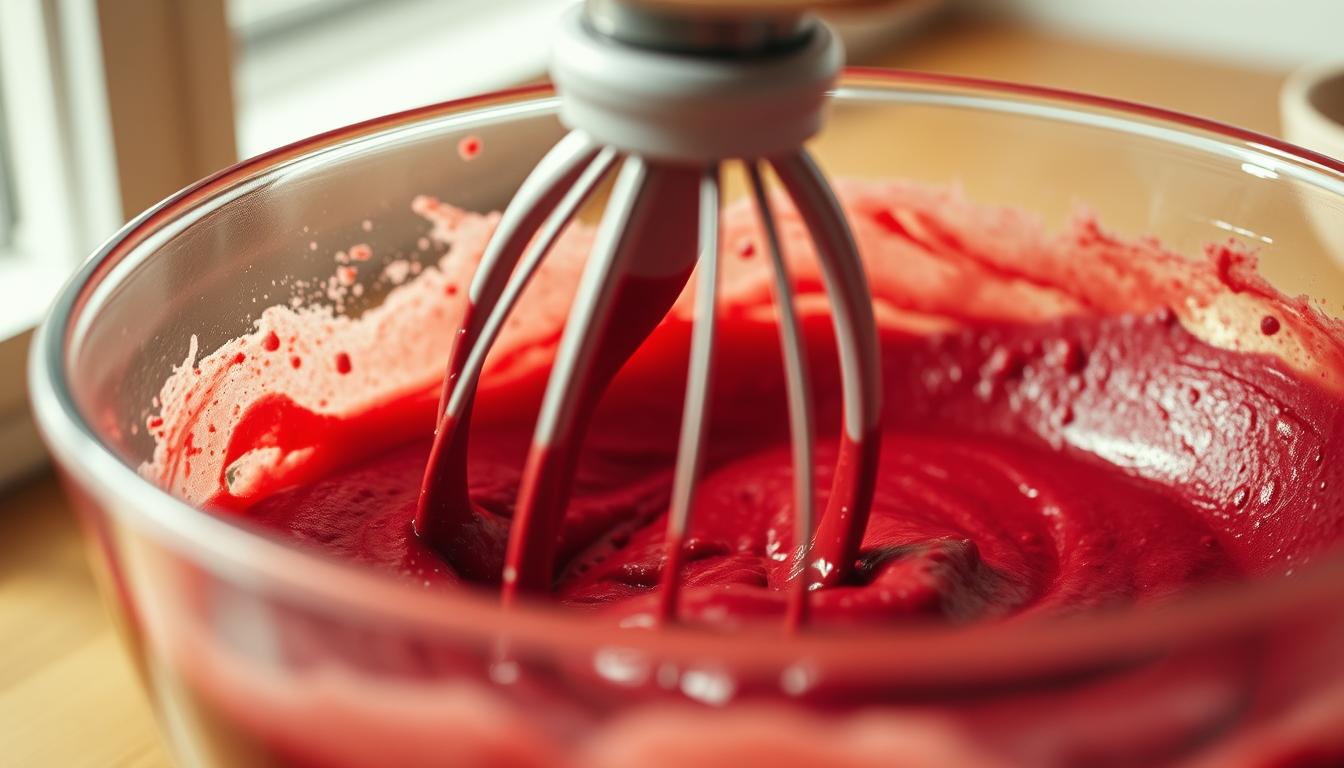
- Add dry ingredients to the mixer in thirds. Alternate with 1 cup buttermilk and 1 tsp vinegar. Mix just until combined—don’t overmix!
- Pour batter evenly into pans (use a kitchen scale for precision). Bake 23–30 mins until a toothpick shows moist crumbs.
- Cool cakes in pans 10 mins, then transfer to racks to cool fully. Frost only when completely cool to prevent sogginess.
Pro tip: Let batter sit 10 mins before baking for extra lift. For homemade red velvet cake perfection, chill frosting ingredients overnight for smoother results.
My Secret Tips for Homemade Red Velvet Cake Success
Mastering the best red velvet cake recipe is more than just following steps. I’ve learned that small tweaks can make a big difference. Start by making sure all ingredients are at room temperature. Cold butter or eggs can make the batter lumpy, ruining the moist red velvet cake texture.
My top pro move? Add ½ cup hot coffee to the batter. It adds depth to the chocolate flavor and keeps the cake moist. And don’t worry, it won’t taste like coffee!
- Don’t skip sifting: Dry ingredients like cocoa and flour clump easily. Sift twice to ensure a smooth batter.
- Cream until fluffy: Beat butter, oil, and sugar for 5 full minutes. This creates air pockets that make the cake rise evenly.
- Cake strips matter: Wrap pans with damp paper towels wrapped in foil. They keep edges from browning too fast.
- Check early: Test for doneness at 30 minutes. If a toothpick comes out slightly sticky, it’s perfect—overbaking dries it out.
- Flavor boosters: Add 1 tsp vanilla and a pinch of salt. They balance sweetness and amplify cocoa notes.
For a showstopper, frost with cream cheese frosting mixed with toasted pecans. And here’s my final trick: refrigerate layers 30 minutes before stacking. This firms them up so they don’t crumble. These steps turn good bakes into bakery-quality treats—no guesswork involved!
Troubleshooting Common Red Velvet Cake Problems
Even with the best red velvet cake recipe, mishaps can happen. Let’s tackle the most frequent issues so your cake turns out bakery-perfect. Here’s what to watch for:
- Dry texture: Overbaking is the top culprit. Test with a toothpick 5 minutes early and let it cool in the pan for 10 minutes before removing.
- Sunken middle: Expired baking soda or overmixing can deflate your layers. Check expiration dates and mix batter just until combined.
- Sticky sides: Under-greased pans cause sticking. Line with parchment and grease both the parchment and pan sides.
- Floppy layers: Cold butter or cold eggs won’t emulsify properly. Bring all ingredients to room temperature before mixing.
- Frosting slipping: Assemble on a chilled cake board. Refrigerate layers 30 minutes before frosting to firm up.
For gummy textures, check your flour type—cake flour’s lower protein content ensures tenderness. If crumbs tear when cutting, slice only after the cake has cooled completely. Always test cream cheese frosting consistency: it should hold its shape but spread smoothly. Remember, the best red velvet cake recipe relies on precise technique as much as ingredients. Need a shortcut? Prepare layers a day ahead and freeze unfrosted cakes for seamless assembly later.
Easy Red Velvet Cake Variations to Try
Mastering the easy red velvet cake is just the start. Let your imagination soar with new flavors and formats. Try adding espresso powder for a deeper chocolate taste or orange zest for a citrus twist. The red velvet cake with cream cheese frosting is so adaptable, you’ll be amazed at how many ways you can enjoy it!
- Cupcakes: Bake mini versions filled with chocolate truffles, then frost with cream cheese-mascarpone blends.
- Poke Cake: Drizzle baked layers with sweetened condensed milk before topping with cream cheese frosting and mini chips.
- Cookies & Cream Bars: Mix red velvet batter with Oreo crumbs and swirl in vanilla frosting.
- Cheesecake Swirl Brownies: Alternate layers of red velvet and cheesecake batters for a marble effect.
- No-Bake Cheesecake: Layer cream cheese mixture over a red velvet cookie crust for a fridge-ready treat.
Got dietary restrictions? Try a gluten-free version with almond flour or a keto-friendly one with erythritol. Add peppermint extract for a festive touch or top with crushed candy canes. My go-to? Roasting pecans for a pound cake version—it’s a game-changer. Don’t be afraid to play with frostings, like using dark chocolate ganache or white chocolate drizzle. Even small tweaks, like adding white chocolate chips or making crinkle cookies, can turn the classic into something new. Let these ideas spark your next baking adventure!
Red Velvet Cake vs. Red Velvet Cake Mix: Pros and Cons
Deciding between a homemade red velvet cake and a red velvet cake mix depends on what you value most. Homemade cakes offer a rich, tangy taste from real ingredients. For example, the Smitten Kitchen recipe adds oil for extra moisture.
But, making a homemade cake takes time and requires careful attention. My grandma’s method, for instance, could turn dry if the buttermilk wasn’t just right. On the other hand, boxed mixes are quick and reliable, even used by top bakers. Yet, they might include artificial additives.
- Homemade: Customize texture and ingredients (gluten-free, vegan) but needs skill and time.
- Mix: Quick and consistent, perfect for busy days.
Don’t settle for plain mixes! You can enhance boxed cakes with a few tricks. Try swapping water for buttermilk, adding an extra egg, or stirring in vanilla. My tests show these changes reduce artificial flavors.
Remember, the frosting is the cake’s star. For a mix of both worlds:
- Add 1/3 cup melted butter for richness.
- Use 1 tsp instant coffee to deepen cocoa notes.
- Swap oil for butter in mixes for a creamier crumb.
Boxed mixes are great when you’re short on time. But for special occasions, the effort of baking from scratch is worth it. Either way, these tips can make any recipe a hit.
FAQs
What is the secret to making a moist red velvet cake?
The secret is in the ingredients. Use buttermilk and vinegar for a tender crumb. Adding oil keeps it moist. Make sure all ingredients are at room temperature for the best mix.
Can I use a red velvet cake mix instead of making it from scratch?
Yes, you can! Red velvet cake mixes are easy. To make it better, add buttermilk and an extra egg for extra richness.
How do I know when my red velvet cake is finished baking?
Check if a toothpick or cake tester comes out with a few moist crumbs. This means it’s done. Start checking a few minutes before the baking time ends.
Why does my red velvet cake have a brownish tint instead of bright red?
A brownish tint might mean your cocoa powder isn’t the best quality. Not enough food coloring or using natural cocoa can also cause this.
Storage and Serving Recommendations
Storing your red velvet cake with cream cheese frosting right keeps it fresh and tasty. Here’s how I keep my classic red velvet cake perfect:
- For frosted cakes: Refrigerate uncovered for 15-20 minutes to set frosting. Wrap loosely in plastic wrap or use a cake keeper. Store in fridge up to 3-5 days.
- Unfrosted layers: Wrap tightly in plastic and foil. Refrigerate 4 days or freeze up to 2 months.
- Cream cheese frosting prep: Make it 1-2 days early. Store separately in the fridge until ready to assemble.
Serve classic red velvet cake at room temperature for the best taste. Let chilled cakes sit 30-60 minutes before cutting. For freezing whole cakes, wrap layers separately, then store frosting in airtight containers. Thaw frozen cakes completely at room temperature before decorating.
Enjoy slices with coffee, tea, or sparkling cider. Add fresh berries or a dusting of cocoa for a nice touch. Never microwave to thaw—it messes up the frosting. Keep leftovers in a cool spot away from sunlight and heat sources.
Conclusion
The best red velvet cake recipe is all about balance. It needs creamy buttermilk, rich cocoa, and a hint of vinegar. This mix creates a cake that’s more than just a treat—it’s a tradition and skill that anyone can learn.
The secret to its signature red color is gel food coloring and careful measurements. And don’t forget the cream cheese frosting for that extra touch of richness.
This recipe is easy to follow, making it perfect for your kitchen. You can make it as a layer cake or cupcakes. Or, try using beet juice for a natural color twist.
If you love moist and flavorful cakes, you’ll also enjoy this Hawaiian Banana Bread, a tropical twist on a classic favorite!
Print
Red Velvet Cake Recipe: Ingredients, Steps, and Expert Tips
- Total Time: 50 minutes
- Yield: 12 servings
Description
This classic red velvet cake is rich, moist, and perfectly balanced with a hint of cocoa and a tangy buttermilk flavor. Topped with a luscious cream cheese frosting, this cake is perfect for any occasion, from birthdays to holidays.
Ingredients
- 2 ½ cups all-purpose flour
- 1 ½ cups granulated sugar
- 1 teaspoon baking soda
- 1 teaspoon salt
- 1 teaspoon cocoa powder
- 1 ½ cups vegetable oil
- 1 cup buttermilk, room temperature
- 2 large eggs
- 2 tablespoons red food coloring
- 1 teaspoon vanilla extract
- 1 teaspoon white vinegar
For the Cream Cheese Frosting:
- 16 oz cream cheese, softened
- ½ cup unsalted butter, softened
- 4 cups powdered sugar
- 1 teaspoon vanilla extract
Instructions
-
Preheat oven to 350°F (175°C). Grease and flour two 9-inch cake pans.
-
Mix dry ingredients. In a large bowl, whisk together flour, sugar, baking soda, salt, and cocoa powder.
-
Combine wet ingredients. In another bowl, beat together oil, buttermilk, eggs, food coloring, vanilla extract, and vinegar.
-
Mix the batter. Gradually add the dry ingredients to the wet mixture and mix until smooth.
-
Bake the cake. Divide the batter evenly between the prepared cake pans and bake for 30-35 minutes, or until a toothpick inserted comes out clean.
-
Cool the cakes. Let the cakes cool in the pans for 10 minutes, then transfer to a wire rack to cool completely.
-
Prepare the frosting. Beat cream cheese and butter until smooth. Gradually add powdered sugar and vanilla, mixing until fluffy.
-
Assemble the cake. Spread frosting between layers and over the top and sides of the cake.
-
Serve and enjoy!
Notes
For a deeper flavor, use Dutch-process cocoa instead of regular cocoa powder.
If buttermilk is unavailable, substitute with 1 cup milk + 1 tablespoon vinegar or lemon juice.
Store in an airtight container in the refrigerator for up to 5 days.
- Prep Time: 20 minutes
- Cook Time: 30 minutes
- Category: Dessert
- Method: Baking
- Cuisine: American
Nutrition
- Serving Size: 1 slice
- Calories: 450 kcal
- Sugar: 38g
- Sodium: 320mg
- Fat: 22g
- Saturated Fat: 9g
- Unsaturated Fat: 11g
- Trans Fat: 0g
- Carbohydrates: 58g
- Fiber: 1g
- Protein: 5g
- Cholesterol: 55mg
Keywords: red velvet cake, classic red velvet, homemade red velvet, red velvet dessert, moist red velvet cake

1 thought on “Red Velvet Cake Recipe: Ingredients, Steps, and Expert Tips”